Thank you for purchasing this theme. If you have questions that are beyond the scope of this help file, visit our support forum.

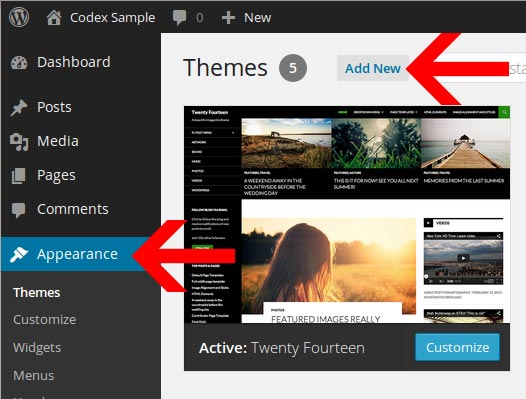
You can install Themes directly to WordPress by using the Add New Themes option in the Appearance sub-menu.

After installing your theme, you will be prompted to install a set if additional plugins. Click on the "Begin Installing Plugins" text link to install the plugins.
You will then view the "Install Required Plugins" page. You can also reach this page under Appearance > Install Plugins. You can select all the items and Bulk Install the plugins or install the plugins one at a time.
Note: We strongly recommend installing theses upon the initial installation. You can also deactivate and remove any plugins later on.
To add a new Theme to your WordPress installation, follow these basic steps:
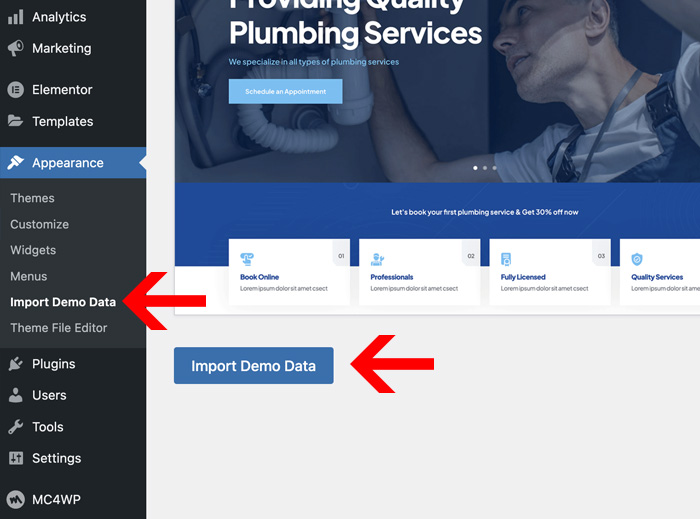
You can import the demo content under Appearance > Import Demo Data. Click "Import Demo Data" and wait until the importer notifies you the import is completed. If the import times out or does not finish, you can run the importer again.
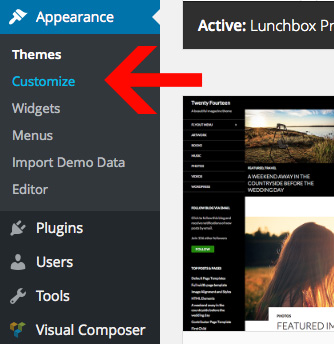
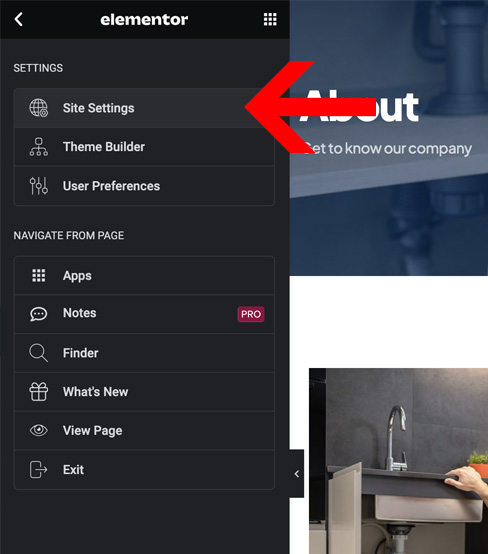
You can easily customize your the theme options under Appearance > Customize. This includes site width, theme colors, fonts, and more!
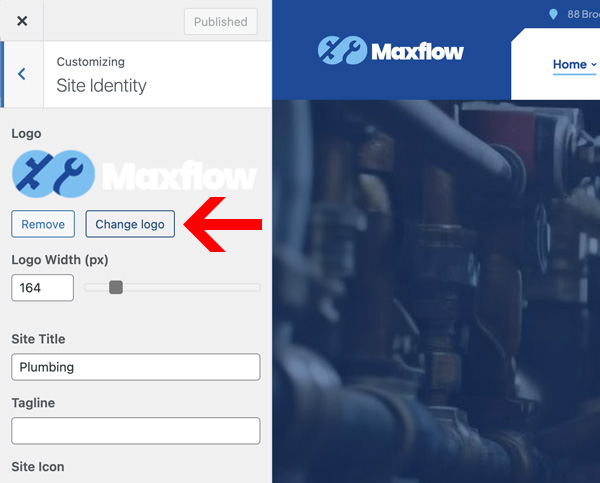
You can easily adjust the logo in the Theme Customizer(Appearance > Customizer) under the section "Site Identity".
To change your logo, click "Change Logo" and choose your new logo. Make sure to adjust the "Logo Width" to match your logo.
If you would like to adjust the default fonts globally, you can do so via Elementor under Site Settings. If you are using the new Containers within Elementor, you can adjust your site width under Global Settings.
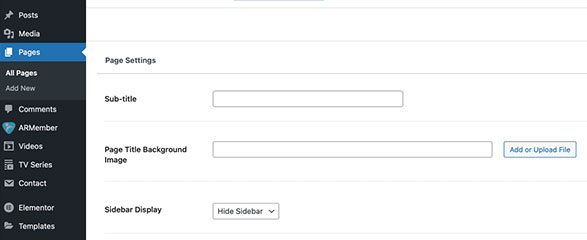
Each page also has options for adjusting on a per page basis. If you want to add a custom page title background image for example, you can do so while editing the page. Just scroll to the bottom and you will see page options.
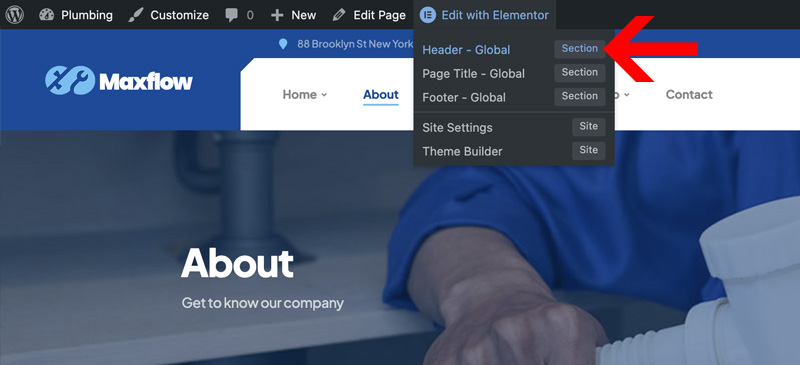
The header can be edited via the page builder Elementor.
To edit your header simply hover over "Elementor" at the top of any page and then select "Header".
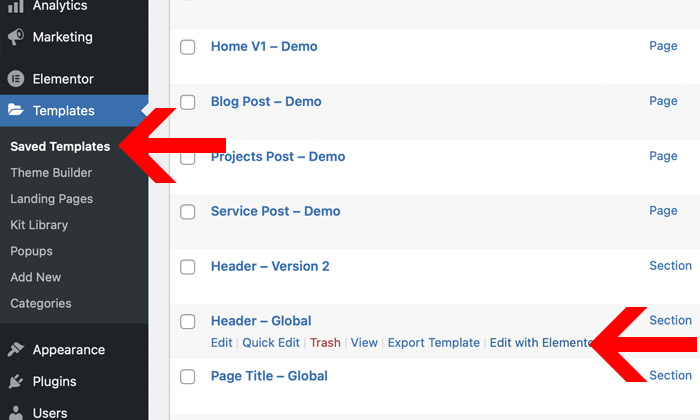
Also, you can edit your Header under Templates. Then hover over the "Header" template and click "Edit with Elementor".
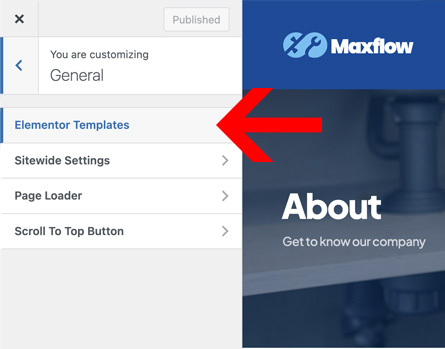
You can switch which page builder element you are using under Apperance > Customize > General > Elementor Template. Just select a different page elementor template under "Header Elementor Template".
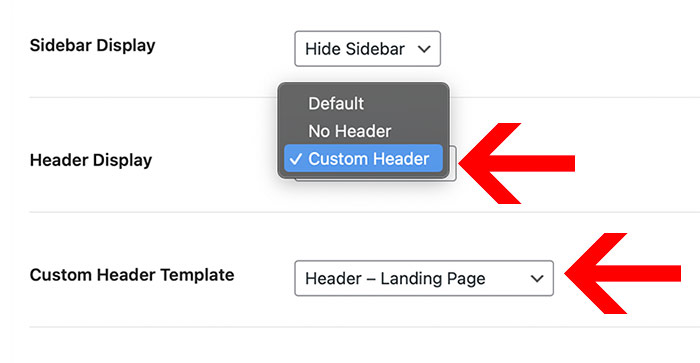
You can hider your header per page OR choose a custom header per page. If you want to use a custom header, you can do so while editing the page in WordPress. Just click "Edit Page" and scroll to the bottom to see the per page options.
You can enable/disable the sticky header under Appearnace > General > Sitewide Settings
Want more control over a sticky header? If you want advanced sticky header options, we recommend using this plugin: https://wordpress.org/plugins/sticky-header-effects-for-elementor/
You can choose to Show / Hide a Section according to the device.
When hiding an element, and switching to the view it’s hidden on, you will see that this element is “muted”. This gives you a clear indication that this element will be hidden on the live site, but still enables you to edit it as needed.
You can edit that specific area in the responsive mode in which it is not hidden. For example, if the element is visible on mobile but hidden on desktop and tablet, you will be able to edit the element in the mobile view.
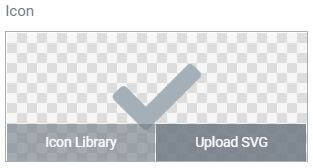
We have included the X Twitter logo within the download in the /Additional Files/ folder. In order to use this icon, you can smply edit the old twitter icon. Click on the Upload SVG button that appears on any widget with icon controls top open the WordPress Media Library manager. Upload the SVG you wish to use.
Detailed Instructions: https://elementor.com/help/enable-svg-support-in-elementor/
The page title can be edited via the page builder Elementor.
To edit your page title simply hover over "Elementor" at the top of any page and then select "Page Title".
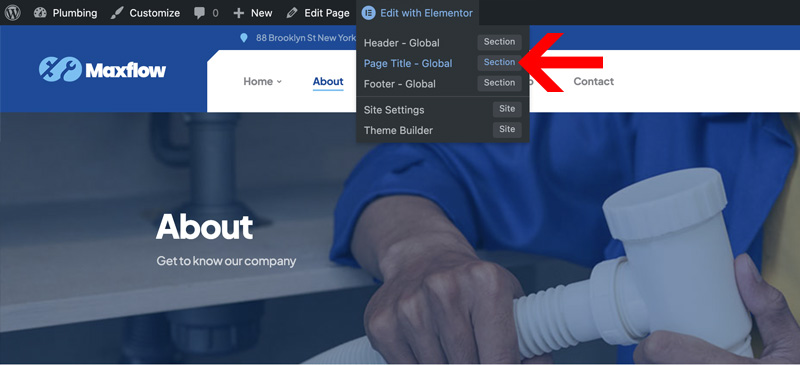
Also, you can edit your Page TItle under Templates. Then hover over the "Page Title" template and click "Edit with Elementor".
You can switch which page builder element you are using under Apperance > Customize > General > Elementor Template. Just select a different page elementor template under "Header Elementor Template".
If you want to hide your page title or add a custom page titel image, you can do so while editing the page in WordPress. Just click "Edit Page" and scroll to the bottom to see the per page options.

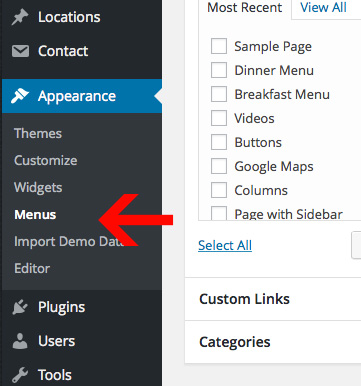
You can create & manage your navigation menus under Appearance > Menus.
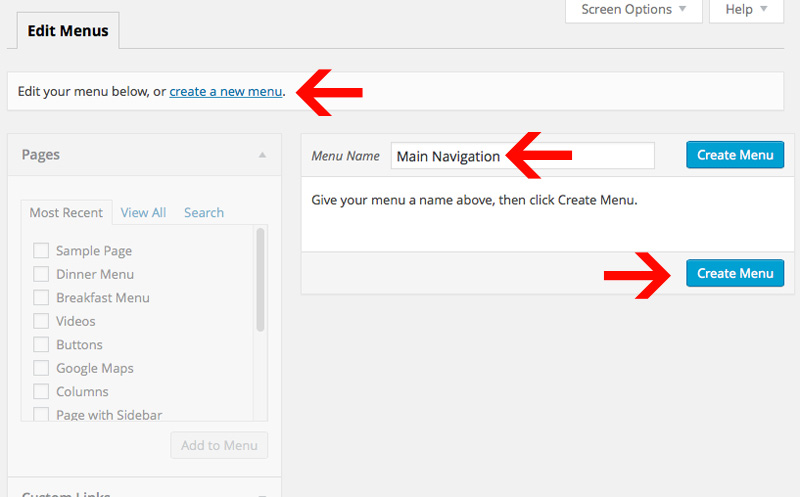
To start, create a new menu. You can click on text link "create a new menu". Then, enter in a menu name and click "Create Menu".
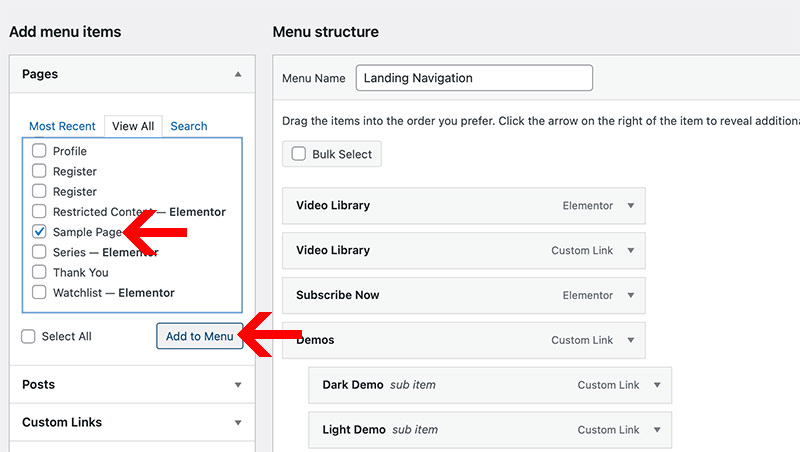
You can then start adding pages and links to your menu. After you click "Add to Menu", it will move the menu item menu on the right. You can drag menu items around to order them. Or customize/delete the menu items by clicking on the down arrow on the right. Make sure to save the menu when you are done editing it.
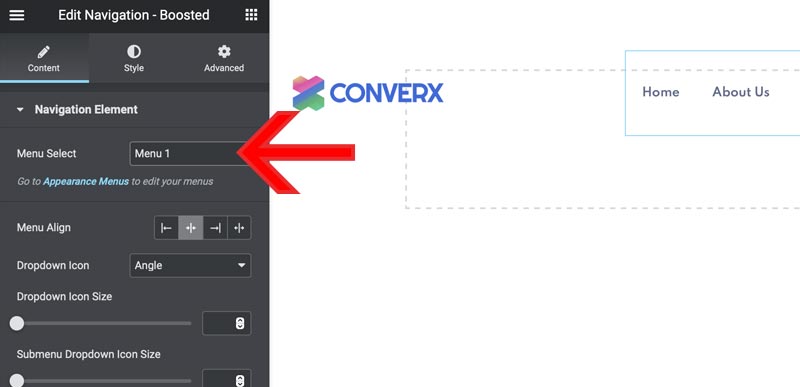
After you have created your menu, you will then see this menu as an option via the header builder. You can do this by editing your header and selecting the navigaiton builder element. Simply select your menu from the list under "Menu Select".
You can also adjust your navigation styles via the page builder under the "Style" tab.
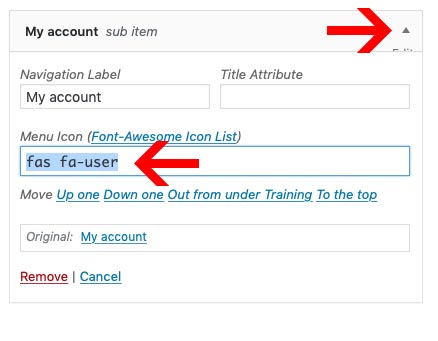
You can easily add-in a menu icon by clicking the small down-arrow and editing the menu item.
You can get a list of available icons here: https://fontawesome.com/icons?d=gallery&m=free. Just pick an icon and then type in the class of the icon in the "Menu Icon" field.
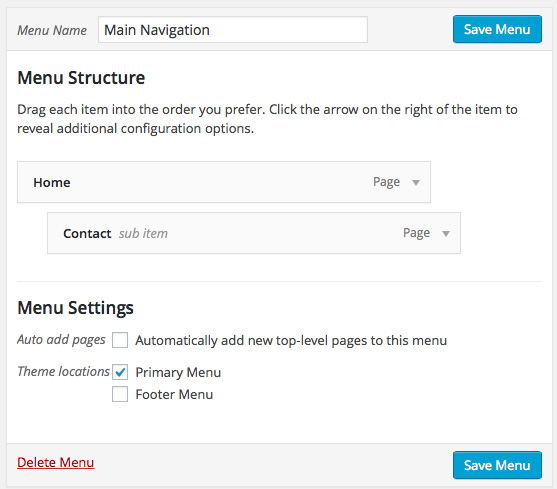
You can make multiple level's of sub-menus. All you need to do is drag the menu item that you want inside the sub-menu under-neath the parent menu item. There will be an option to indent the item, so that the sub-menu item looks like it is pushed inside of the parent menu item. See example, "Contact" is in a sub-menu of the parent page "Home":
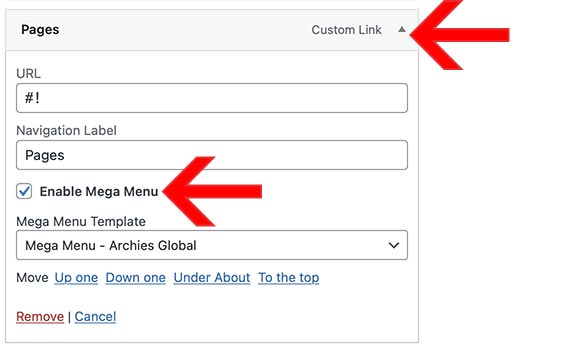
You can easily add-in support for mega-menus by clicking the small down-arrow and editing the menu item. Just click "Enable Mega Menu" and then choose page builder template you want to use as a mega menu. You can create new mega menu template under Templates > Add New
There is also an option Mobile menu if you want a custom menu for mobile devices. You can selcet this under "Custom Mobile Menu" while editing the navigation element in Elementor.

The footer can be edited via the page builder Elementor.
To edit your footer simply hover over "Elementor" at the top of any page and then select "Footer".
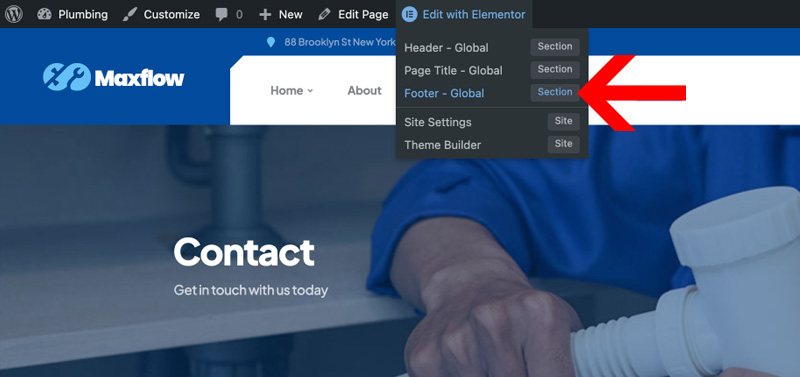
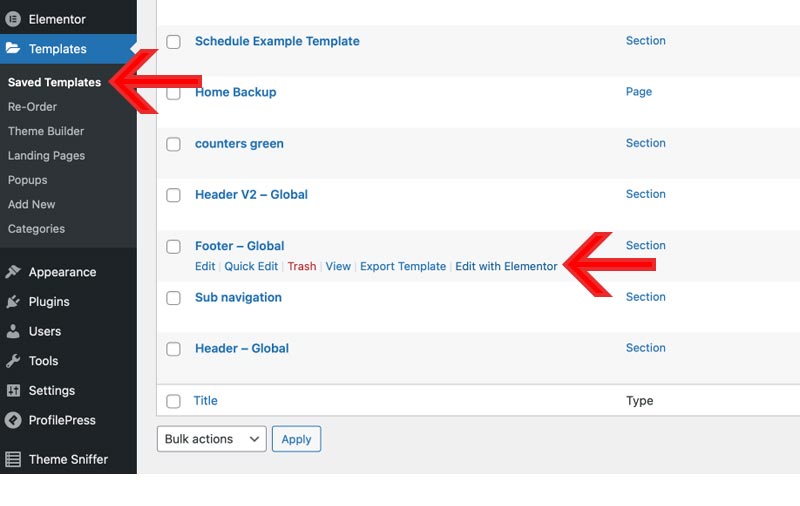
Also, you can edit your Footer under Templates. Then hover over the "Footer" template and click "Edit with Elementor".
You can switch which page builder element you are using under Apperance > Customize > General > Elementor Template. Just select a different page elementor template under "Footer Elementor Template".
This theme is powered by the page builder "Elementor". We also have a page builder add-on called "Boosted Elements".
Check out the full Elementor documentation online: https://elementor.com/help/
You can edit pages in the page builder by clicking the "Edit with Elementor" button.
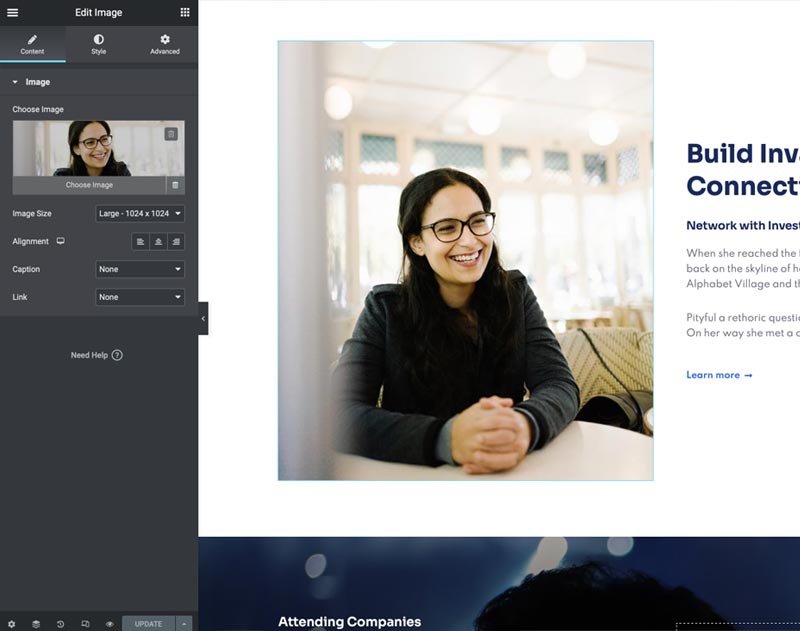
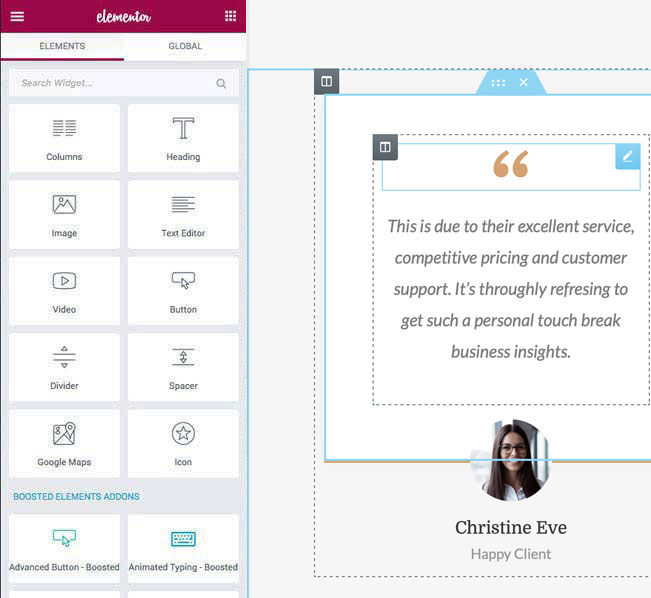
From there you can add new Elements or editing elements by clicking on them. Just select an element and then the panel on the left will display options:
You can add new elements by clicking the icon. From there you get a list of elements. Choose any element and drag it onto your page where you want it

The Entrance Animations feature lets you animate your Widgets, Sections, and Columns. This way, as your site visitor scrolls down the page, the elements appear with an entrance animation.
You have full control over your layouts and font sizes on tablet mobile. You can edit the Desktop, Tablet, and Mobile styles by clickign on the grey desktop icon next to most options. Click on the tablet or mobile to open that specific device size.
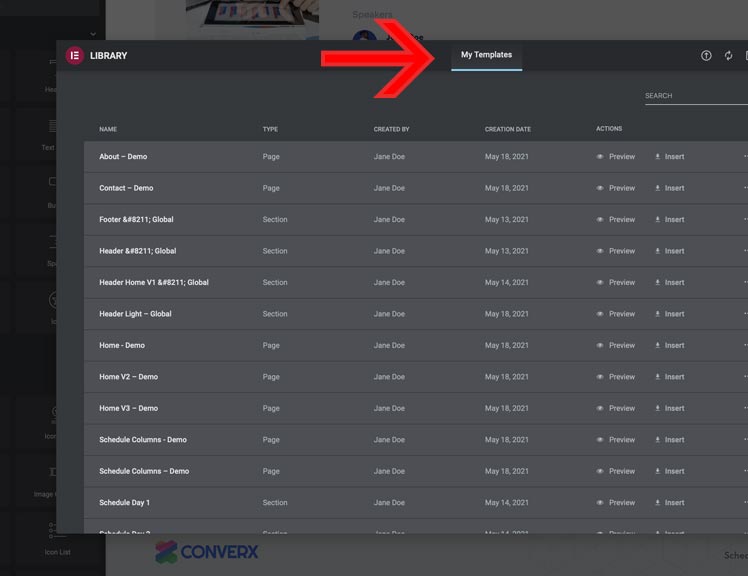
We have saved all the tempaltes from the live preview for you. In addition there are many other templates available that can be be used to re-create various pages or sections of the site. Click on the templates library button to open the layout options:
Templates can be used to re-create various pages or sections of the site. Click on the layouts button to open the layout options:
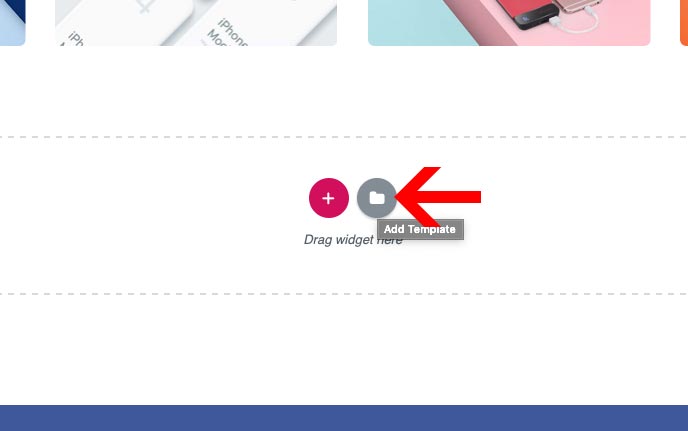
Then click on the "My Templates" tab in order to see all the built-in templates.
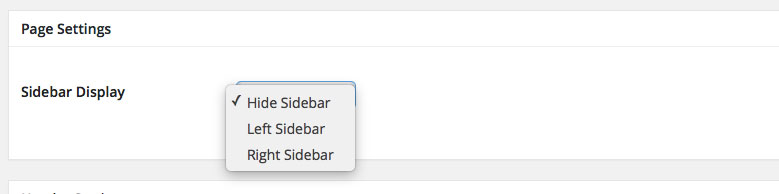
You have additional page options at the bottom which can be used to adjust the sidebar display and header display.
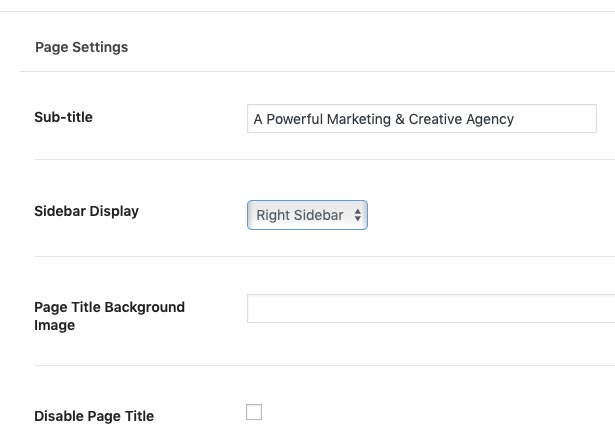
You can turn on the sidebar while editing any page under "Page Settings" at the bottom.
You can control which page template is used for your 404 page under Apearance > Customize > General > Elementor Templates
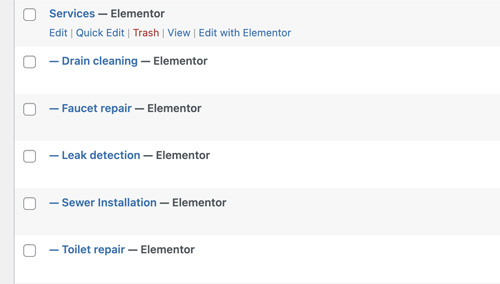
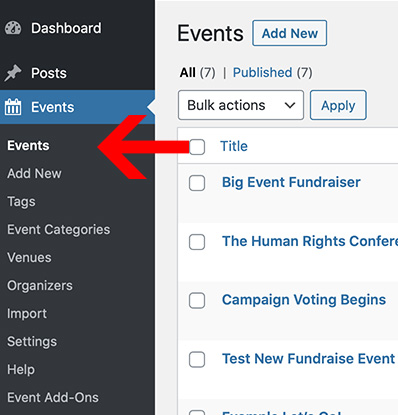
You can edit your Service Single's under Pages. Each Service is one page.
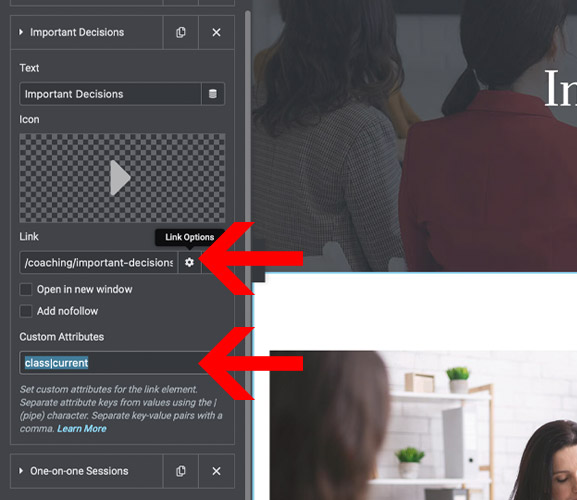
You can mark a link as selected by editing the list.
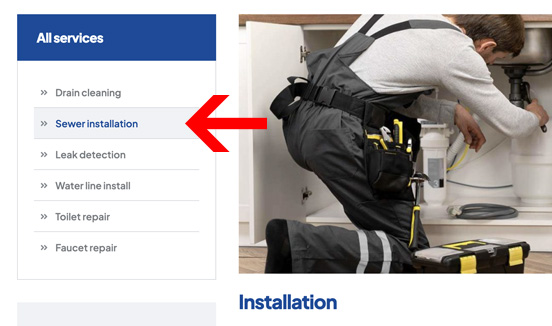
You need to edit the link and click on the Link Options. Then you add add custom attributes which need to be "class|selected"
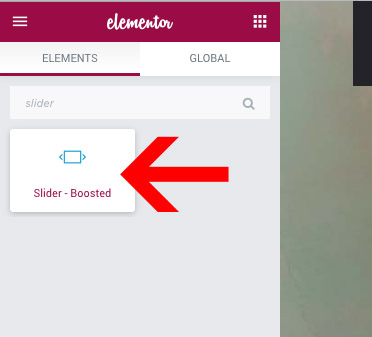
You can create a homepage slider using the Page Builder Element "Slider - Boosted"
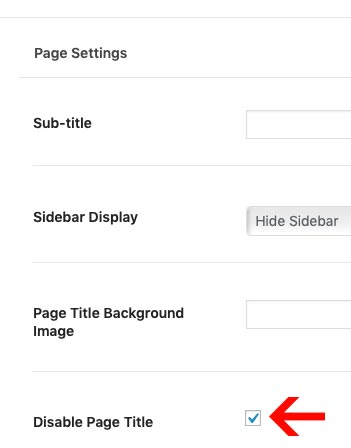
You can remove the page title by editing the Page Settings at the bottom of each page:
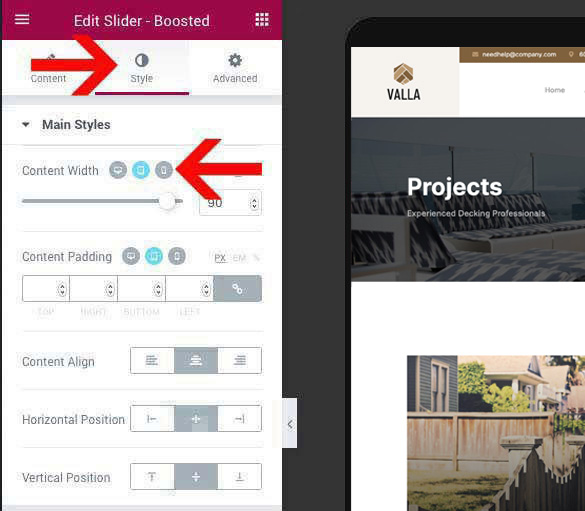
Control various styles of your slider under the "Style" section.
Furhtermore you can edit Desktop, Tablet, and Mobile styles by clickign on the grey desktop icon. Then click on the tablet or mobile to open that specific editor.
The shop is powered by the "WooCommerce" plugin. If you wish to install this demo data, make sure you have installed the free WooCommerce plugin under Plugins > Add New
Check out the full WooCommerce documentation here: http://docs.woothemes.com/documentation/plugins/woocommerce/
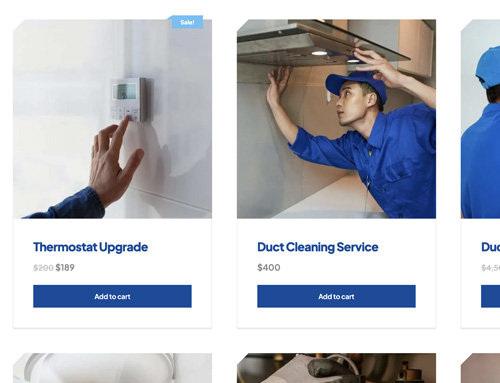
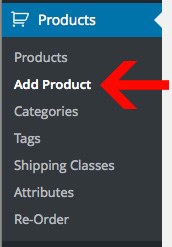
You can manage all of the shop products under the sidebar heading "Products".
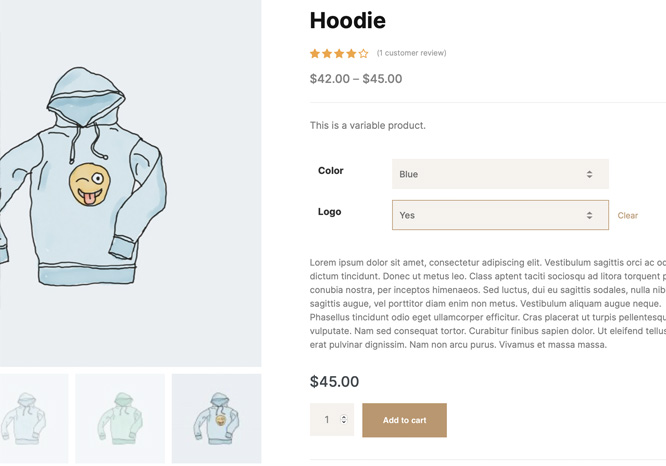
You can easily add multiple product attributes like shirt sizes, colors and more. Learn more here: https://docs.woocommerce.com/document/managing-product-taxonomies/
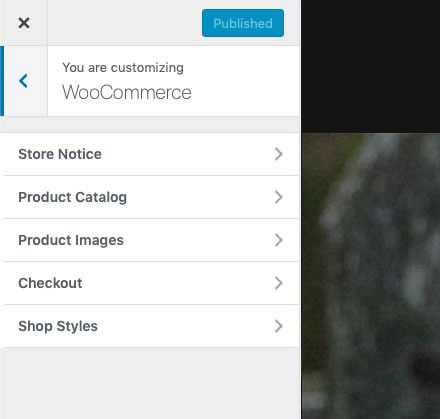
You can adjust WooCommerce options under Appearance > Customize > WooCommerce
You have additional page options at the bottom of the editing screen which can be used to adjust the sidebar display on the shop page.
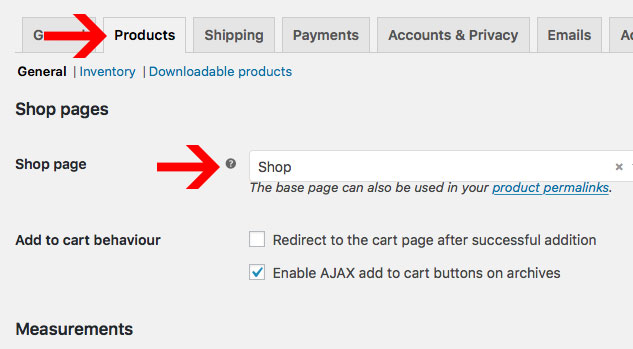
After you import the demo content, you may need to set your Shop page up. You can setup your Shop index under WooCommerce > Settings > Products:
The contact forms are powered by the plugin Contact Form 7. It has many additional options which you can find in the full Contact Form 7 documentation here: https://contactform7.com/docs/
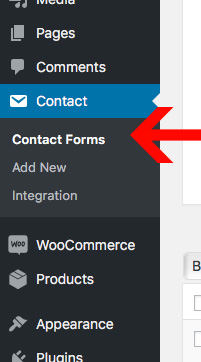
The contact forms are managed under "Contact" in your WordPress Dashboard. From there you can edit the existing contact forms by hovering of them.
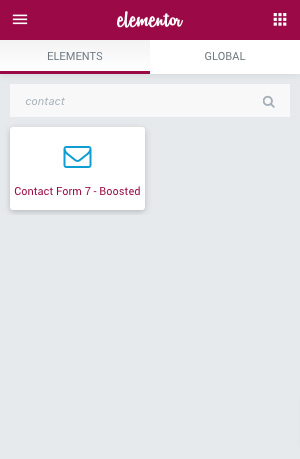
You can add Contact Forms onto any page using the Contact Form 7 page builder element
The blog is managed under "Posts" in WordPress:
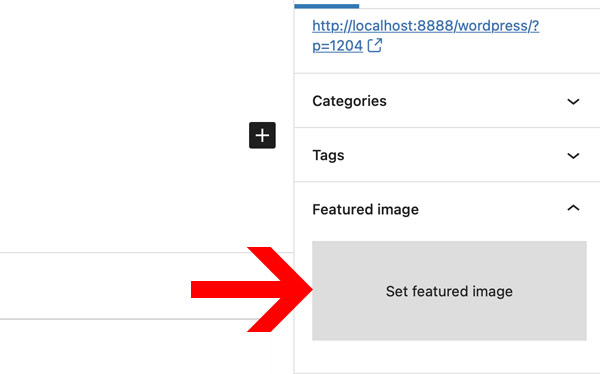
You’ll find the featured image tab in the right column. Click on "Set Featured Image"
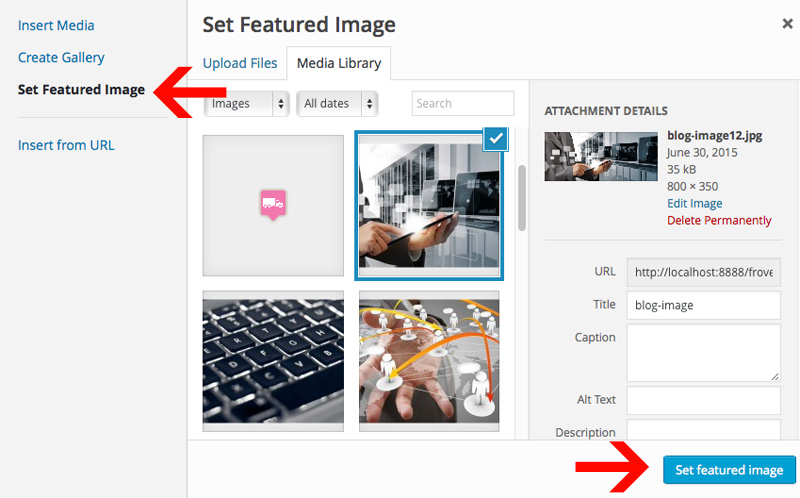
From here, you can upload an image from your computer or use an existing image from your media library. Once you select the image, click "Use as featured image".
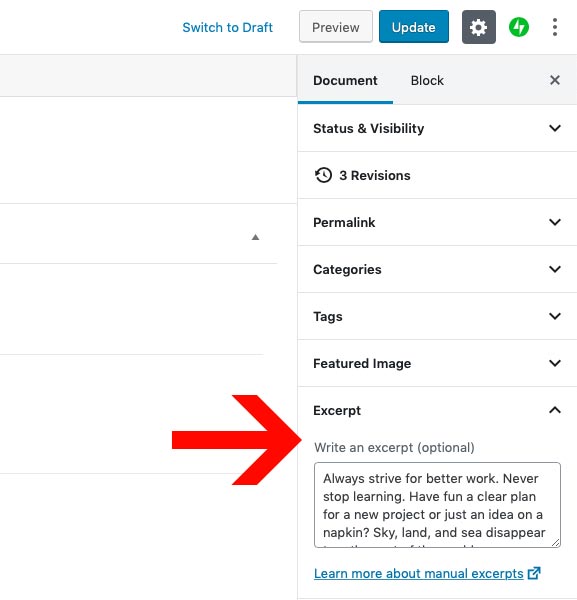
You can control which text displays on the index. This is what we use in the live preview to display a snippet of text on the post list.
You can find the Excerpt field on the right side:
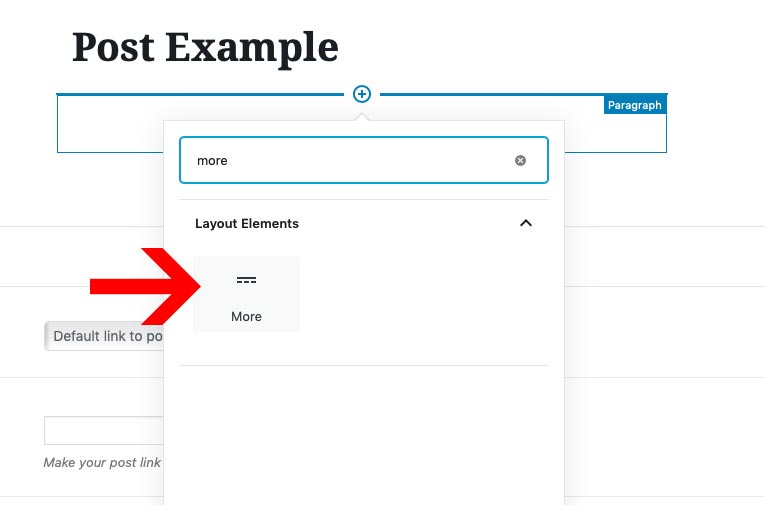
By default the blog-posts on the blog index will display all content. If you want to cut-off the blog-post on the index earlier, you will use the "Insert More" element. The information above the break will be displayed on the Blog Index and all other information will be displayed on the post page. You can find the button for in default text editor as shown in the example.
The email newsletter sign-up form in the live preview is powered by "MailChimp". You can learn more about mail-chimp and signup for a free account here: http://mailchimp.com
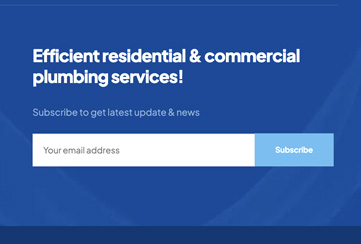
Step 1) To setup your newsletter widget, go under "Mailchimp for WP" in your dashboard. Add-in your API Key which you can get by clicking the "Get your API Key here" link. If you don't have account, you will need to create one (Free account).
Step 2) Then click "Form" under MailChimp for WP and click "Add New Form".
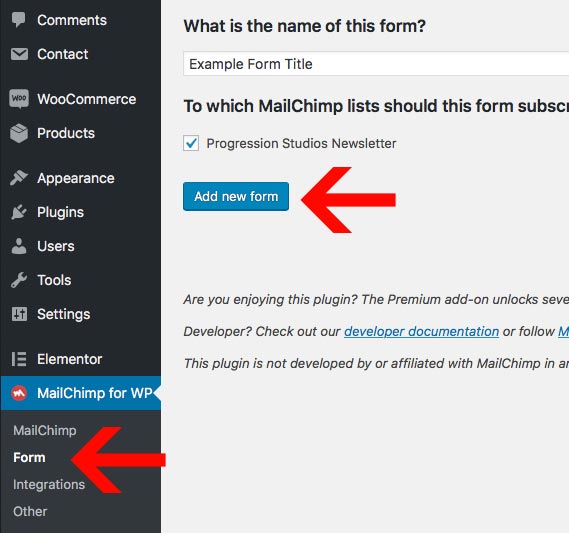
Step 3) Add this HTML under "Form Code"
<div id="newsletter-maxflow">
<p>
	<label>
		<input type="email" name="EMAIL" placeholder="Your email address" required />
	 </label>
      </p>

<p>
	<input type="submit" value="Subscribe" />
</p>
</div><!-- close #newsletter-maxflow -->
Note: The plugin we are using is activated automatically upon installation: https://wordpress.org/plugins/mailchimp-for-wp/.
As of June 22, 2016 Google has started to require an API key to use Google Maps on your site. Don't worry as this is still free. You just need to register with Google and get a free API key. Then paste the key into our theme.
Step 1) Register and get an API Key here: https://developers.google.com/maps/documentation/javascript/get-api-key

Step 2) Login to your WordPress site and add your API key into your theme customizer. (Appearance > Customize > Google Maps)

"It is our experience with customers using WordPress to load our maps that, in order for the maps to be correctly displayed, three APIs must be enabled: the Maps Javascript API, the Places API and the Geocoding API"
This theme is ready to be translated to any language. The easiest way to translate is via a Translation WordPress Plugin. Check out wordpress.org for a list of translation plugins. Our current recommendation is the plugin Loco Translate
You can learn more about translating WordPress via the Translating WordPress Documentation.
Here are some of the Multilingual WordPress Plugins that will allow you to add multiple languages:
If you notice any font characters missing, you will need to select additional Font Subsets. You can manage this under Appearance > Customize under the Typography tab.
Note: Some fonts do not support all font sub-sets. If your font does not support your language, you will need to choose another font that supports your font characters.
Any questions regarding customizations of themes are not included in theme support. It is up to the buyer to make any necessary customizations they need. If you would like to hire us for custom development, please contact here: http://progressionstudios.com/contact/
If you have questions that are beyond the scope of this help file, visit our support forum.
If the customization you want to change isn't listed in the Theme Customizer, check the style.css file. We have a table of contents at the top that points out all of the sections within theme. You can also look-up styles using FireBug for FireFox or Safari/Chrome Inspector. This will allow you to edit additional places within the theme.
How to use Inspector for Safari & Chrome to look-up styles in the style.css file: https://www.youtube.com/watch?v=nOEw9iiopwI